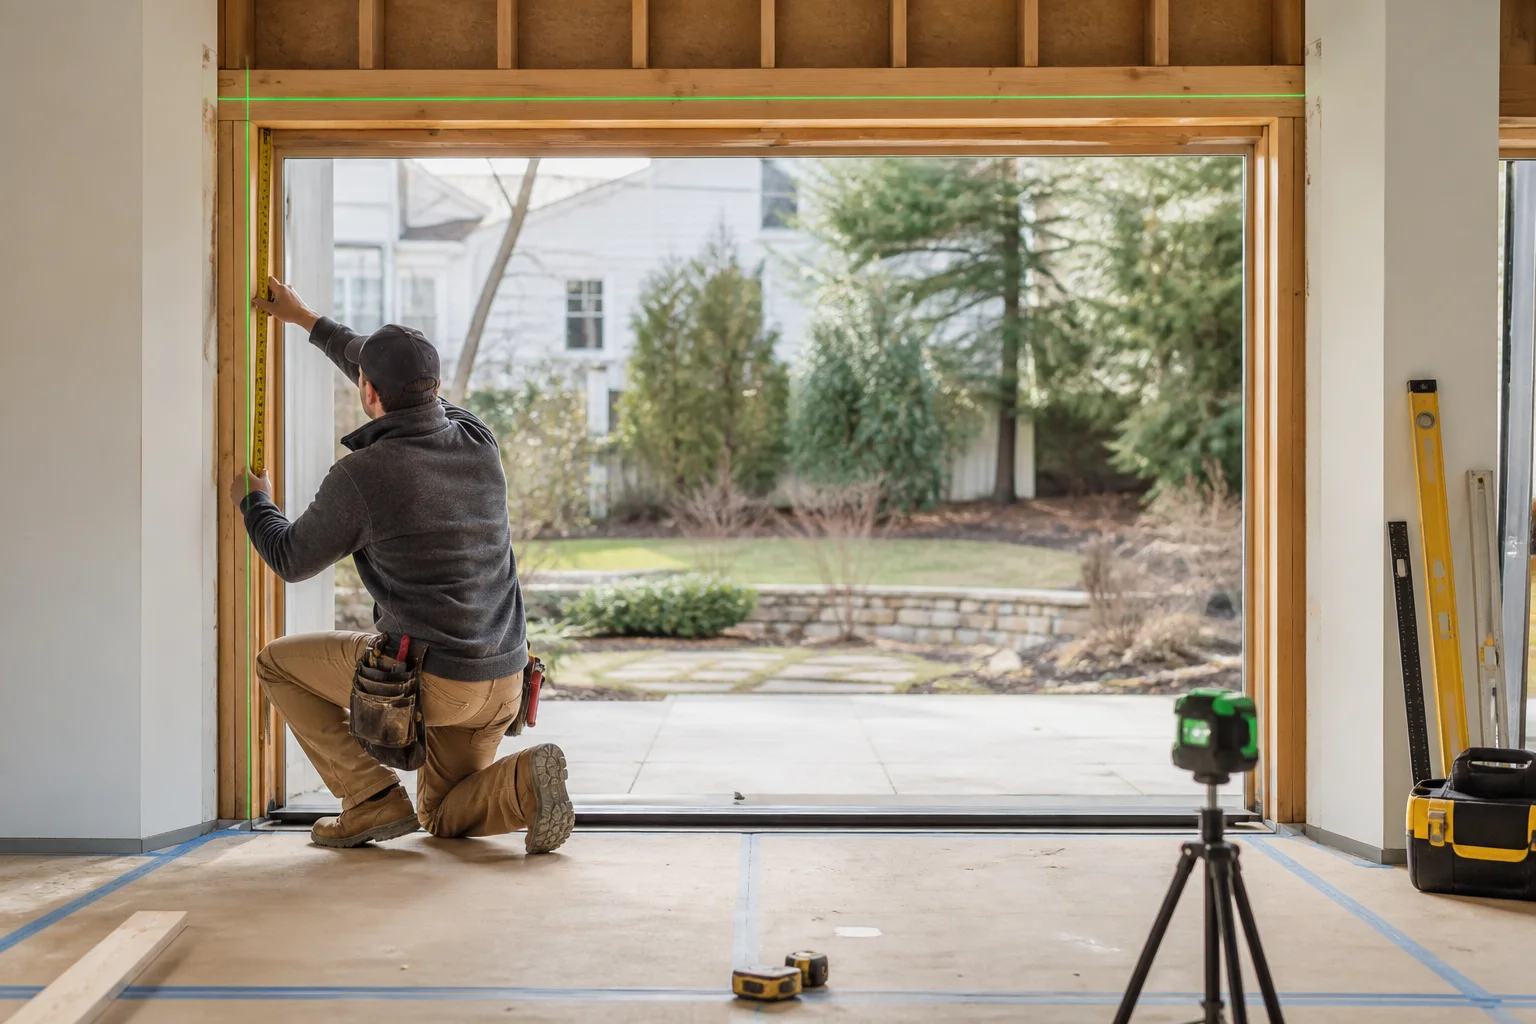
Label the dimension type
State whether the numbers describe rough framing, masonry, finished opening or desired unit size. Never let a quote silently convert one to another.
Measure width, height and diagonals
Record width at the top, middle and bottom; height at the left, center and right; and both diagonals. Document bow, twist, level and plumb rather than hiding them inside one average.
Capture the whole perimeter
Photograph and measure the header, jamb depth, sill, floor build-ups, exterior landing, drainage path, trim, cladding and any nearby columns, railings or counters.
Verify before fabrication
Early dimensions support selection and budgeting. Final production dimensions should follow the accepted measurement responsibility and approved structural opening.
Measuring folding doors and allowing for the panel stack
A folding door needs space for the opening and for the folded panels. Start with how you want to use the doorway every day, then choose a compatible panel layout.
Record the wall opening and floor levels
Give the opening a unique ID. Record its width and height at multiple points and note whether the surrounding work is structural, finished or still planned. Mark the top of the intended interior floor and the exterior finished surface. Keep those observations on the same sketch as the opening so the selected sill can be coordinated with the construction.
The rough opening, outside frame size, individual panel size and usable passage are separate dimensions. Do not divide the wall width by a preferred panel count and treat the result as an order size. Jambs, joints, hardware and the selected arrangement affect the final dimensions.
Use the layout drawing to choose a stacking pattern
The FTS.60 folding layouts illustrate panels moving to one side or dividing between sides, with different panel groupings. Start by identifying the most convenient stack location. Then decide whether everyday access should use a traffic panel without opening the complete wall. Confirm that the chosen grouping supports that use.
Sketch the panel stack in plan view beside furniture, curtains, planters and adjoining walls. Include handle projection and the route people will use through the opening. The folded stack occupies space beyond the frame; its final projection depends on panel width, hardware and the approved arrangement.
Choose the sill before finishing the floor
One FTS.60 surface-track section shows a nominal 3/4-inch rise at the finished floor and a 6-inch overall track width. The separate recessed drainage detail shows a trench and drain below the floor reference. These illustrate different construction conditions. They are not interchangeable floor details or universal opening deductions.
Review the selected sill with the installer before a recess is formed or flooring is installed. Agree on support, water discharge and the interior-to-exterior transition. Accessibility and weather performance depend on the complete selected assembly and project conditions.
Confirm support and handling
Determine the load path for the selected system, including the head, sill and surrounding structure. The term folding door does not establish whether a particular assembly is top-hung or bottom-running. Confirm its hardware and support requirements, then plan delivery access and panel handling around the packaged dimensions.
Send a complete opening package
- Opening ID, quantities, project location and photographs.
- Field dimensions and inside/outside finished-floor elevations.
- Panel count, stack side, opening direction and traffic-panel preference.
- Required clear passage, finish, glass and screening preferences.
- Wall construction and any required performance criteria.
Panel limits and the final frame size must be confirmed for the chosen configuration before the order is released.
Explore the right system
Turn the guide into a real opening schedule.
Keep every dimension, option, pressure, document, and delivery note connected to the same opening ID.
Start the configurationQuestions about this topic
Should I deduct installation clearance myself?
Do not apply a generic deduction unless the selected system and installer direct it. Submit the labeled opening measurements and let the approved order process establish unit size and tolerances.